Learn Angular page
Learn how to build a moderately complex application with Angular.
Before you begin
 Click here to join the
Bitovi Community Discord
Join the Bitovi Community Discord to get help on Bitovi Academy courses or other Angular, React, CanJS and JavaScript problems.
Please ask questions related to Angular in the Angular chat room.
If you find bugs in this training or have suggestions, create an issue or email contact@bitovi.com.
Overview
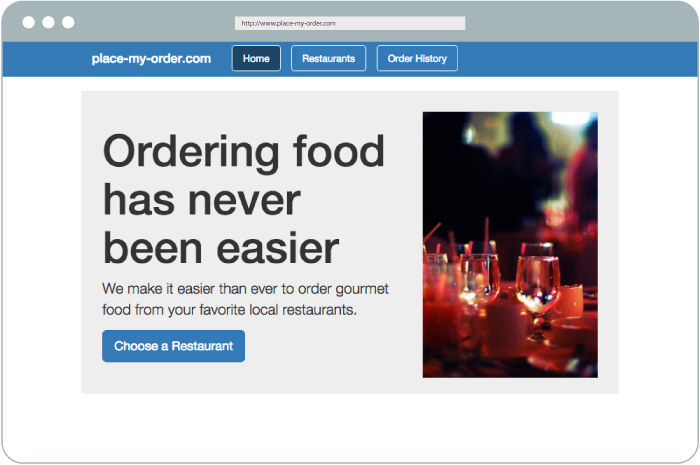
In this guide, we will build this restaurant ordering app with Angular:

You can see a DoneJS implementation of this application at www.place-my-order.com.
This application (and course) is moderately complex. Its purpose is to teach intermediate developers how to write a real-world application in practice. Thus, it covers the features that are present across almost all single page apps:
- Navigation between pages
- Handling complex state mechanics
- Creating, Reading, Updating, and Deleting (CRUD) data from a server.
As for the application itself, it:
- Is written in Angular 17
- Is a single page application (SPA) that uses pushState to simulate routing between several pages.
- A
homepage - A
restaurant listpage that lets the user filter restaurants by state and city - A
restaurant detailspage that provides more information about a particular restaurant - An
orderpage that allows us to place an order for a restaurant - A realtime
order historypage that tracks orders as they are created, being prepared, out for delivery, delivered, and deleted
- A
- Will make requests to a local API server that provides the following APIs:
/api/states- Returns a list of US states./api/cities- Returns a list of US cities for a state./api/restaurants- Returns a list of Restaurants in a city./api/order- Creates, Returns, Updates, or Deletes orders for a restaurant.
Outline
The guide begins (Why Angular?) with a discussion of Angular’s strengths. We will install Angular (Generate an App) and use it to generate a new project. Then we will set out creating some components (Creating Components) and (Creating Pipes) to manipulate their data, the component will be shown when the right url is present (Adding Routing) and adding navigation links (Creating Navigation) to route to those components.
With that complete, we will explore how to get data from the server (Fetching Data with Services) and write that data out to the page (Rendering Data in Components).
After that, we will begin exploring how to handle complex state mechanics by creating a form that displays cities and states (Reactive Forms Data Binding). We will make selecting a state filter cities (Listening to Form Changes) and selecting a city filter the restaurants (Multi-parameter Services). As an optional and advanced exercise, you can convert handle the state declaratively with RxJS (Optional: Declarative State).
After writing all that code, it’s good to learn a bit about testing. While this tutorial has tests to verify your solutions, we will turn the tables and have you write a test for retrieving a single restaurant from the service layer (Writing Unit Tests). This will prepare us to create a nested route for the restaurant details page (Creating Nested Routes).
Now we are ready to turn our attention to learning about creating, updating, and deleting data. We will start by building an Order Form (Binding Component Data) and then update it to utilize directives (Creating Directives), which in turn allows us to create orders on the server (Order Service). We’ll then create a page that lets us update an order’s status or delete an order (Order History Component). We will utilize pipes to create an item total calculation across the application (Item Total Pipe) and will even make the order page update when someone else updates an order (Real Time Connections).
At this point, we will have completed the app. The final step will be building it to production and deploying it for others to see (Deploy App).
Requirements
In order to complete this guide, you need to have Node.js version 18.13 or later installed.
Chrome browser is required for running automated tests, which ensure you have the correct solutions to the proposed exercises.
Next steps
✏️ Head over to the first lesson and get your environment setup.