.svg)


.png)
While the bulk of your LSG documentation will come from special comments that you add to the source code, you can also create standalone pages where you can host other types of content that are not specific to the code (think of design principles, accessibility guidelines, or pull request guidelines). This gives you the advantage of centralizing your documentation in one place: your application living style guide.
Tutorial Part 2
In this part of the tutorial we will be creating standalong pages in a living style guide and:
- Installing a sample application that uses DocumentCSS
- Creating a simple page
- Adding the page to the living style guide navigation
- Adding content to the page
For additional context on the subject to living style guides and to learn how to plan your own be sure to check the part one of this tutorial.
You could almost think of the living style guide as the “game rules” of your app. Inside of “the rules” is all the information that is needed on how to “play” the game: The building blocks and the rules for creating and making building new blocks. Including how other members of your team can contribute to it and help maintaining it as a living document.

With this in mind, let's get started by installing the sample application that we will use for this tutorial.
Installing the Sample Application
The installation process has 3 steps:
1. Installing Node
First, make sure you have Node installed. You will need at least version 6.
2. Installing the App
Then, download this zip file: sgdd-tutorial.zip to your Desktop and unzip it. This is important as another location would break the install commands.
Then open the terminal and enter the following command:
cd ~/Desktop/vintage-shop-sgdd-tutorial && npm installIt will take a few seconds to install the app and its dependencies.
3. Running the App
Once the installation is done enter the following commands:
npm run develop- In a new tab enter:
npm run document
Now, let’s break this down:
npm run develop
Starts a server where you can see your app running at: http://localhost:8080. You will see in the terminal:
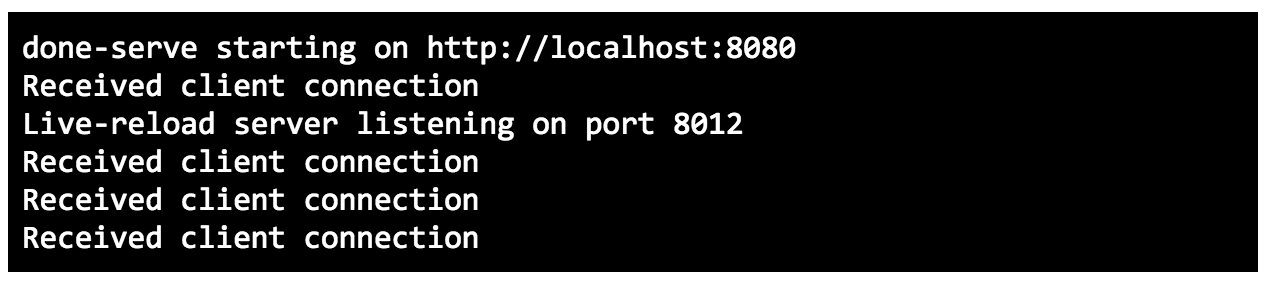
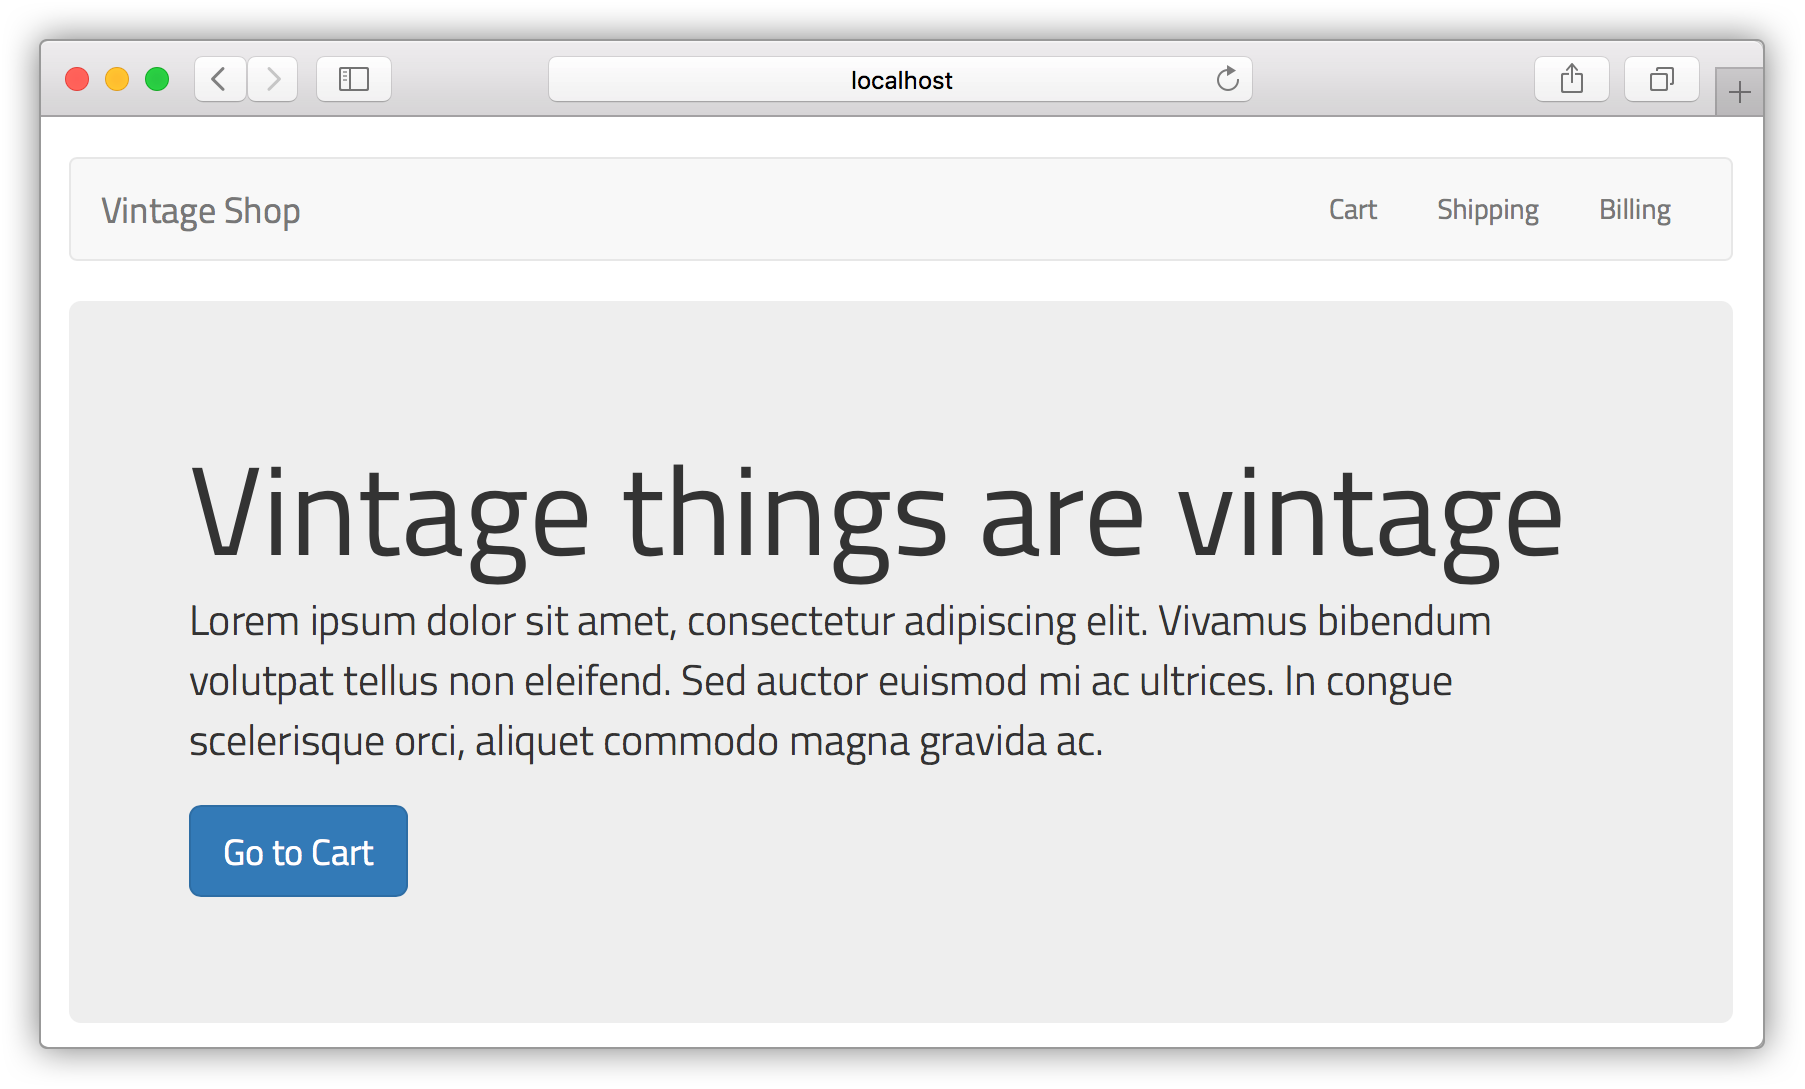
And in the browser:
npm run document
Generates the living style guide at http://localhost:8080/styleguide. You can add the flag -- -w to this command to watch for changes in your code and then generate an update in the living style guide, like this:
npm run document -- -w
Switching to the browser you should see:
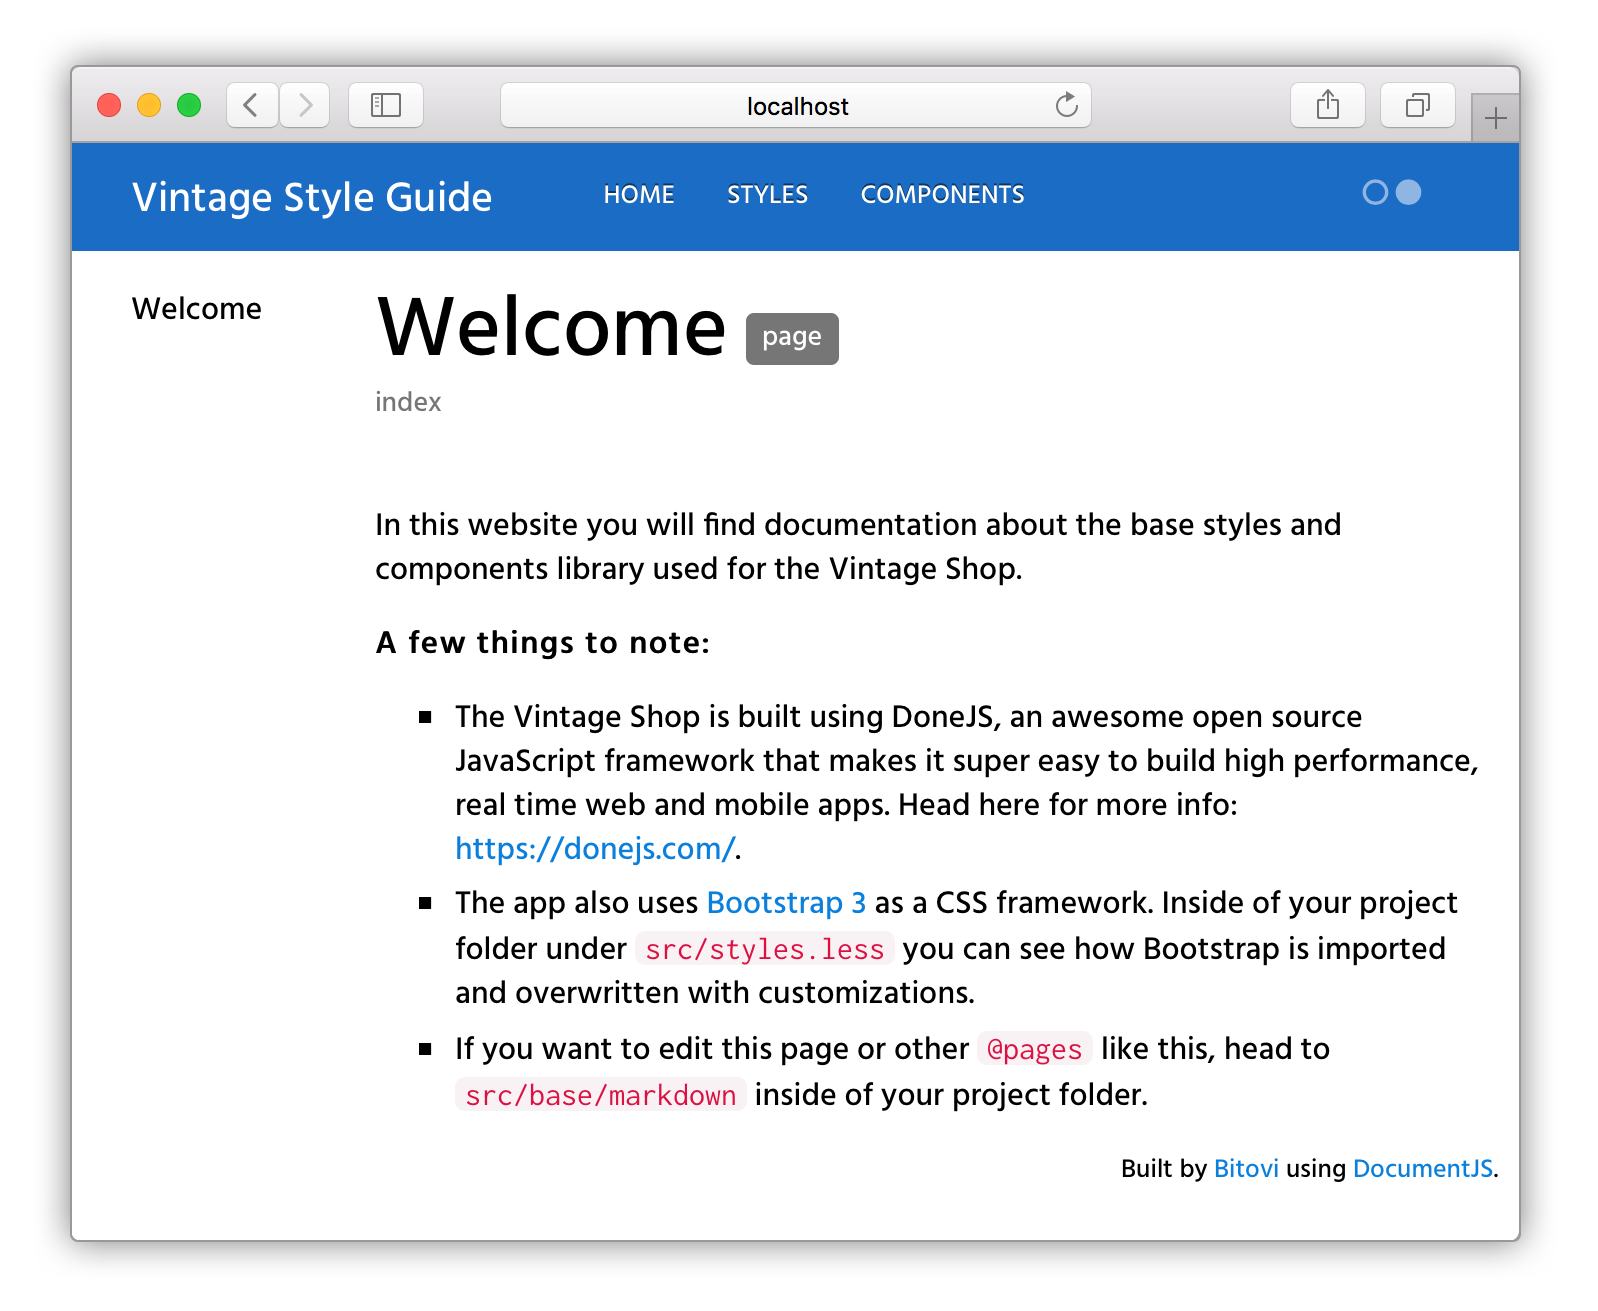
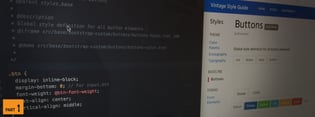
The generated living style guide uses DocumentCSS, so let's take a look at how does this work.
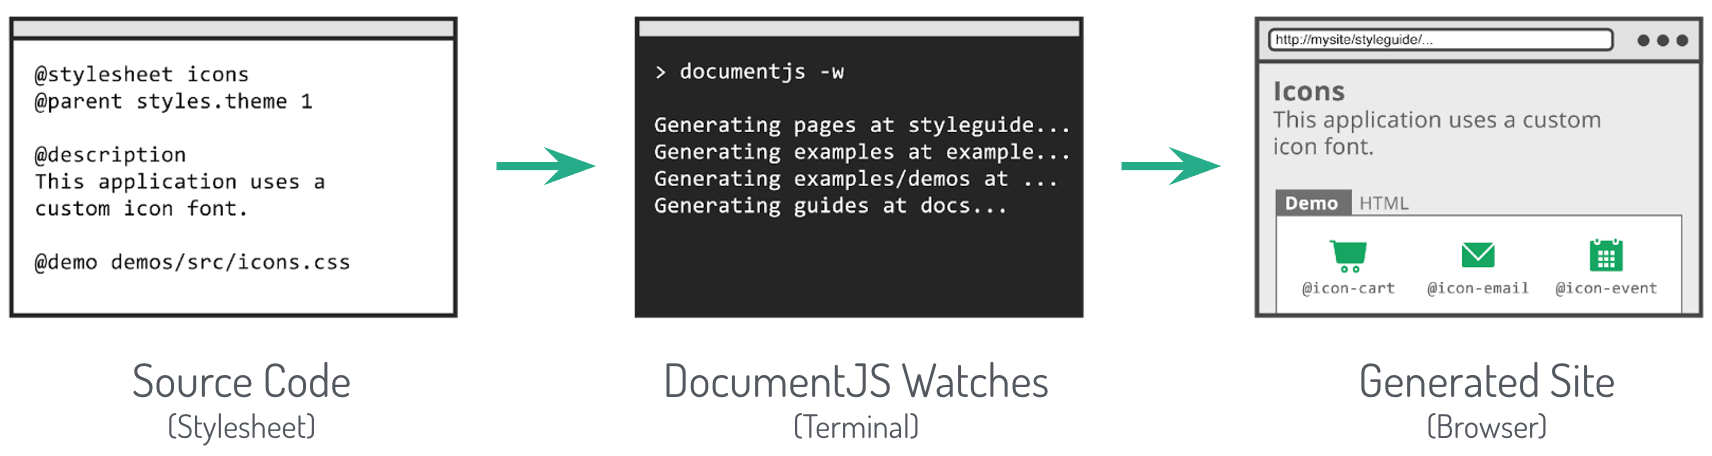
How does DocumentCSS Work?
DocumentCSS is a static site generator. This means it looks for specially formatted comments in your code and creates a static website. This site is called “static” because it remains unchanged until a command (in this case documentjs) is run again. This workflow works well for generating a living style guide as changes to your stylesheets are also changes to the Living Style Guide static site.

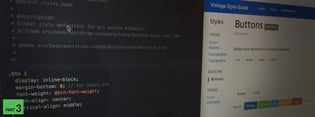
To build a living style guide, DocumentCSS does the following:
- Reads through files specified in its configuration (for this tutorial it will be looking at
.lessand.mdfiles) - Looks for comments that uses special “tags” (like
@page,@stylesheetor@styles. - Generates html files and connects them to build the site.
With this in mind let’s jump into using DocumentCSS to create a new page in the LSG.
Creating a Page
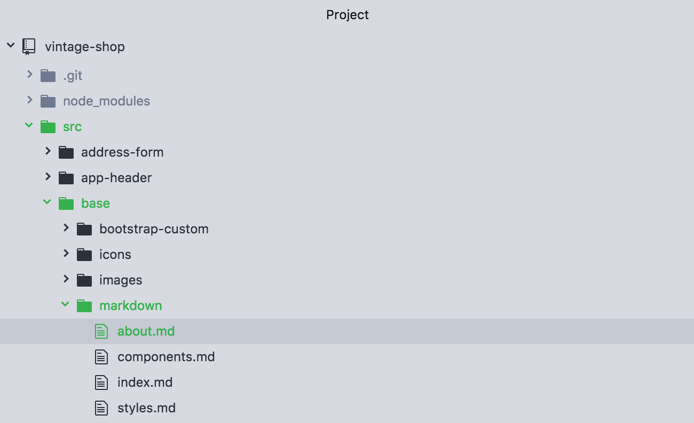
To begin, first open the sample application in your code editor. You should see the following file structure:

Drill down into src , and find base/markdown. Here you will find pages that already exist in the style guide. Create a new markdown file and name it “about” (with the extension .md). Your file structure should now look like this:
Inside of this new file, add the tag @page followed by two strings:
@page about aboutNow let's break this down:
@page
The tag @page declares the file as a page and tells DocumentCSS that the information in this file should be displayed as a page in the style guide. This serves to differentiate it from stylesheets, javascript, or other types of files in your documentation.
about
This is the unique name for the page and is used as a reference to other tags. So keep it short, lowercase and simple as it will be used as the url for the page. For our example, the url for our new page will be: http://localhost:8080/styleguide/about.html
About
This is the title of the page that will be used for display purposes in the generated site. Here you can use multiple words with spaces or other characters.

The next step is to add your page to the navigation. For this add a second line to your file as follows:
@page about About
@parent index
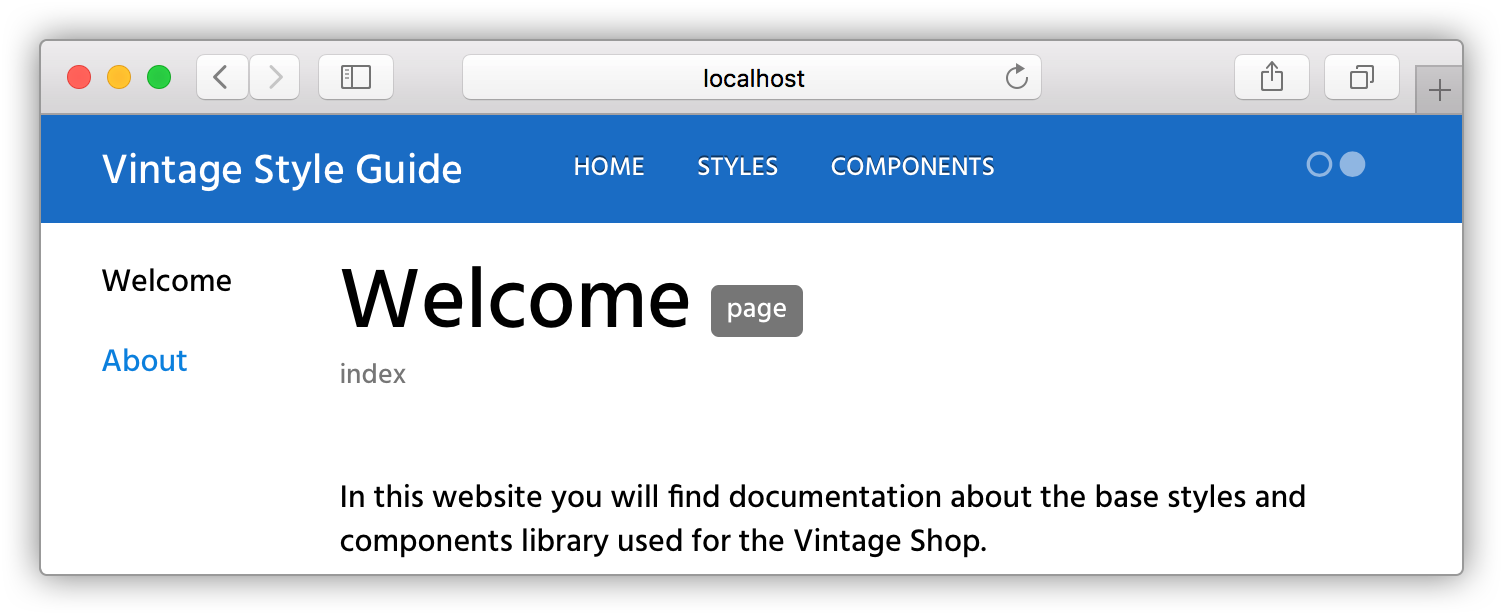
The tag @parent allows to specify a parent for your document. In this case we want the "About" page to show under the home section. Now, you can rerun the docs and see the page appear below the “Welcome” link:
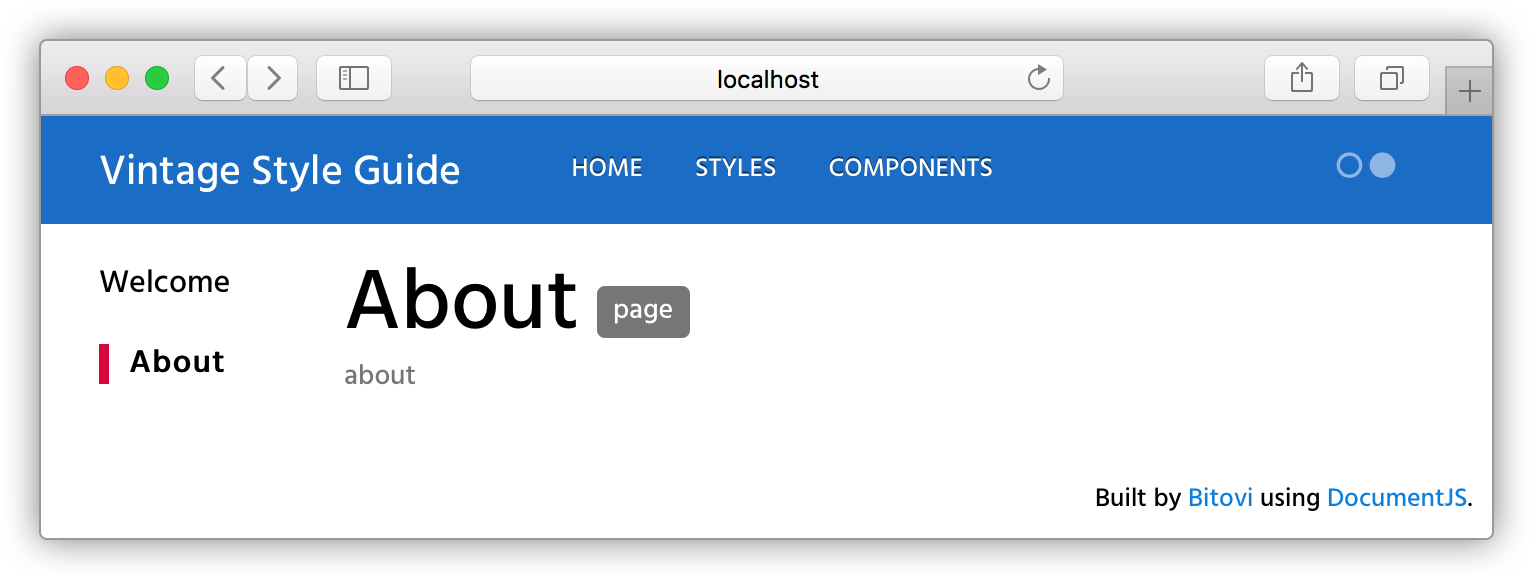
And if you click on the "Welcome" link, you can access the start page:
Now we are good to add content to this page using markdown or html. To finish the exercise, let’s add the following dummy content:
@page about About
@parent index

## Hello World!
This is the first page of my style guide. Here I can add any type of content that shouldn’t live with the code. Like who are the main contributors of the style guide or contact info.

For example here's an animated gif inside of an `iframe`:

<iframe class="giphy-embed" src="https://giphy.com/embed/3o7TKMt1VVNkHV2PaE" width="480" height="480" frameborder="0" allowfullscreen="allowfullscreen"></iframe>
And here’s the output:
Up Next
Now that you know how to create a basic page in the living style guide, you can move on to learning how to document a stylesheet. The principles will be the same but with additional features.